Imagine this: crisp air nips at your nose, snowflakes dance in the moonlight, and you step into a warm, cedar-scented embrace. It’s not a dream; it’s your own backyard haven, a DIY outdoor barrel sauna, crafted with your own hands and ready to melt away the stresses of the day.
Building your own DIY sauna isn’t just about saving money (though that’s a nice bonus!). It’s about the satisfaction of creating something unique, a space that reflects your personal style and provides years of therapeutic relaxation. And with the right DIY outdoor barrel sauna kit, the process can be surprisingly achievable, even for woodworking novices.
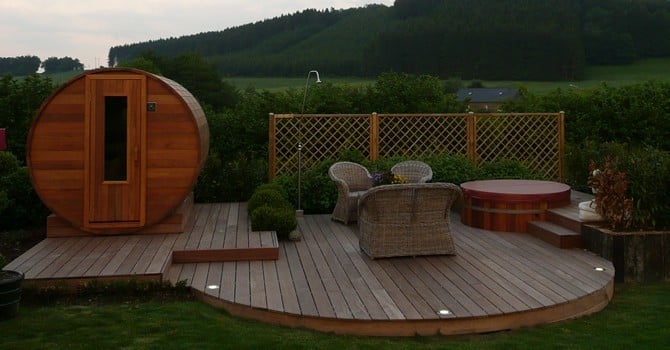
Why Choose a Barrel Sauna Kit?
Barrel saunas offer several advantages over traditional saunas:
- Space-efficient: Their curved design maximizes interior space, making them ideal for smaller backyards.
- Energy-efficient: The barrel shape minimizes wasted heat, allowing you to reach desired temperatures quickly and efficiently.
- Fast to heat: Perfect for those who crave warmth after a day in the cold.
- Beautiful and rustic: The natural beauty of cedar wood adds a touch of charm to any outdoor space.
Choosing the Right Kit:
When selecting a DIY outdoor sauna kit, consider these factors:
- Size: How many people do you want to comfortably accommodate? Kits typically range from 2-person to 8-person capacities.
- Wood type: Choose from Western Red Cedar, known for its durability and aroma, or Hemlock, a more affordable option.
- Heater type: Wood-burning sauna heaters offer a traditional experience, while electric heaters are convenient and require less maintenance.
- Features: Some kits include pre-cut lumber, pre-drilled holes, and even benches and doors, making assembly easier.
Building Your Dream Sauna:
Once you’ve chosen your kit, gather your tools and get ready to embark on your sauna-building adventure! Here’s a general overview of the process:
- Prepare your foundation: Ensure a level and stable base for your sauna, such as gravel or concrete pavers.
- Assemble the walls: Follow the kit’s instructions to connect the pre-cut lumber pieces, typically using tongue-and-groove joints.
- Install the roof: Most kits come with pre-fabricated roof panels that easily attach to the walls.
- Add the door and benches: Install the pre-hung door and assemble the benches according to the instructions.
- Install the heater: Follow the heater manufacturer’s instructions for safe and proper installation.
- Finish the exterior: Apply a sealant or stain to protect the wood from the elements.
Tips for Success:
- Work with a friend or helper: Assembling a sauna is easier with an extra pair of hands.
- Read the instructions carefully: Don’t skip any steps!
- Use quality materials: Invest in good-quality lumber, fasteners, and sealant to ensure your sauna lasts for years.
- Take your time: Don’t rush the process. Enjoy the satisfaction of creating something beautiful and functional.
The Reward: Your Own Backyard Oasis
Building your own DIY outdoor barrel sauna is a rewarding experience that will provide years of enjoyment. Imagine cozy evenings spent sweating away stress, invigorating mornings with a cold plunge, and social gatherings filled with laughter and warmth. It’s more than just a sauna; it’s a sanctuary, a place to connect with nature and yourself.
So, grab your tools, channel your inner builder, and embark on your sauna-building adventure. With a little effort and the right kit, you can create your own backyard oasis, a place to melt away the cold and embrace the pure joy of a good sauna.
Happy building!