Financing as Low as 0% APR on Approved Credit. Find out More.
Terms and conditions apply. See details here.
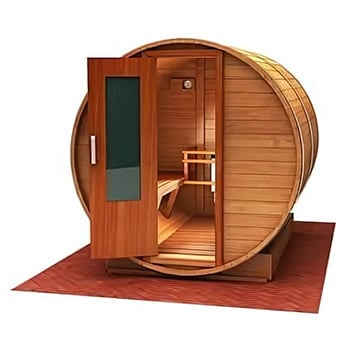
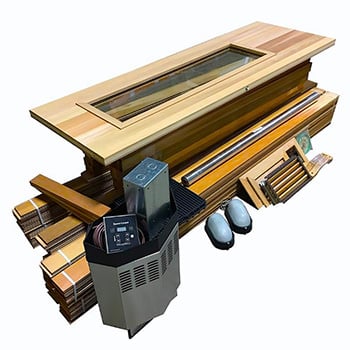
Northern Lights Pre-Cut Indoor Sauna packages are "ready to go" sauna kits, easily assembled by the do-it-yourselfer.
These saunas can be installed with minimum carpentry knowledge in a pre-framed and insulated room.
Pre-cut saunas are ideal for new construction as well as remodeling projects.
Within reason, try to keep your room smaller rather than larger. The upper and lower benches are the main components you will use to sit and lay down in the sauna. After allowing for the depth of each bench, (typically 19" each) you should then plan on space for your heater, plus an area of 4" around the front, and two sides.
A smaller room will also permit using a smaller heater, smaller circuit breakers in your panel, and provide more efficient heating.
TIP: remember that most sauna users like to stretch out on the upper and lower benches, so try to have the main bench wall 6 feet or longer.
Example: let's plan a room 6 ft x 5 ft. The 6 foot wall will allow one upper and one lower bench, each 6 feet long, ideal for laying down. The 5 foot (60") side wall space will be used up by: a)19" wide upper bench, and b)19" wide lower bench, leaving 22" of space for the heater and safety clearance. ..."perfect" (60" - 19" - 19" = 22")
Note: the ceiling height for a sauna can be from 6 1/2 to a maximum 7 feet high. Because heat rises, you want the benefit of the warmer air in the sauna while you are laying on the upper bench, so a ceiling height of 8 or 9 feet is going to defeat this, plus your heater will not function properly.
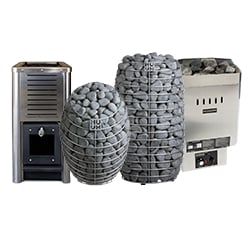
Room size: once you have determined your room dimensions, measure the cubic area (length x width x height) and from the chart on our heater page choose: a) the model of heater, and b) the sauna control.
Tip: you can install two heaters if you need to service a very large room in your home (i.e. over 450 cubic feet).
Hint: You will either sit or lie down in your sauna so include maximum benching as space permits; and note that the upper bench will be the warmer bench.
Notes for preparing your sauna space.
Your sauna can be anywhere -- in a basement, garage, bathroom. attic or under a staircase.
Recommended inside height is 6'6" to 7'. Heated air is wasted above that height. If you are building a drop ceiling, use 2X4 studs on 16" centers.
Build any new walls with 2X4 studs on 16" centers, including against cement walls. Optionally, 2X6 walls can also be used for increased energy efficiency, especially if building an outdoor sauna, or if you are located in a colder part of the country.
Use insulation with a minimum R-factor of R-11 in walls and R-19 in ceiling. Use fiberglass bats, not polystyrene foam board! Northern Lights does not advocate the use of foams in any sauna. Our information is, while foam boards are chemically stable under normal temperatures, other gasses such as formaldehydes, etc. will be given off by foams when exposed to sauna temperatures.
A sauna is basically a dry heat with the addition of moisture to the air when water is sprinkled on the rocks. You want to use aluminum foil vapor barrier, NOT polyethylene as used in regular residential construction. Good results have been achieved by sealing the aluminum vapor barrier joints with aluminum foil adhesive duct tape or red Tyvek sealing tape made by "3M".
HINT: when installing the aluminum foil, drape it loosely especially in the corners. Aluminum foil will shrink somewhat with heating and cooling. Don't stretch it tight as commonly done when installing "poly" in residential construction.
In most residential situations, a drain is not necessary. If water is pooling on the floor you are using too much water! Some plan on installing a drain in commercial saunas if the sauna is going to be washed down often.
Our insulated cedar doors measure 24" x 76" o.s.m. plus the cedar frame. Please frame in a 26" x 78" rough opening for your door. We will gladly quote any custom size door if needed.
Northern Lights standard sauna doors (without window glass) are supplied with an adjustable exhaust vent in the upper portion of the door.
NOTE: at the present time, most commercial saunas require wider doors and additional floor space to permit access by wheelchairs and "mobility-impaired" sauna patrons. Check with your local authorities and/or architect to confirm the necessary space and clearances if building a commercial sauna. Also remember that most government regulations require a commercial sauna have a door with glass in it to allow the occupants to be viewed from outside. Again, check your local codes.
Northern Lights sauna doors are shipped with all hinge receivers routed and predrilled, and a brass roller latch is installed. The 1" x 6", clear, cedar knockdown door frame is shipped with matching hinge receivers routed, ready for onsite assembly. Door casing, handles, and doorstops are included.
Remember, the door swings out, NOT into the room. As an upgrade option, we offer an insulated window door with a 12" X 44" dual pane, glass sealed unit.
Proper venting is necessary for fresh oxygen and to create air flow for efficient operation of your heater. Fresh air can be supplied a) through a non-adjustable vent installed in the wall under the heater position, or b) by leaving an air space (up to 1") between the threshold and the bottom of the door panel. The "b" method is used by Northern Lights. Separate intake vents are available for purchase from Northern Lights.
An adjustable exhaust wall vent on the opposite wall allows air to circulate. The exhaust wall vent should have sliding doors controlling the volume of air allowed into the room. The exhaust vent is normally installed 48" to 54" from the floor. Installing the exhaust vent higher than this can mean too much of the heated air will be leaving the room.
Locating your exhaust vent within arm's reach of the upper bench is good, this way you can adjust air circulation from the upper bench where you will spend most of your sauna time. Northern Lights vents are supplied with cedar louvers allowing privacy in the sauna.
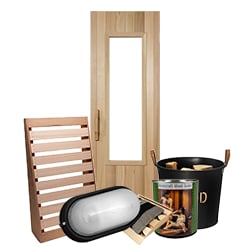
Sauna lights are specially certified for sauna use. Do NOT use any conventional fixtures in your saunas.
Many saunas built today include a second or even third sauna light. These additional light fixtures are usually mounted on the main bench wall, but about 3 inches below where the upper bench meets the wall. This way they are hidden from casual view, yet illuminate the traditionally dark area below the benching, plus they shine upwards through the slats in the benching creating a wonderful, reflected lighting effect in the sauna.
Sauna lights are often operated by dimmer switches which offer the option of adjusting each light as the "mood" warrants.
Here's a finished pine sauna showing the additional lighting installed under the upper bench.
Also note the use of horizontal bench supports attached to the wall (instead of vertical supports). If you decide to go this route you can use these on any bench up to 6 ft long. In this sauna we made the lower bench supports about 30 inches long so the lower bench can be slid in or out to suit the user.
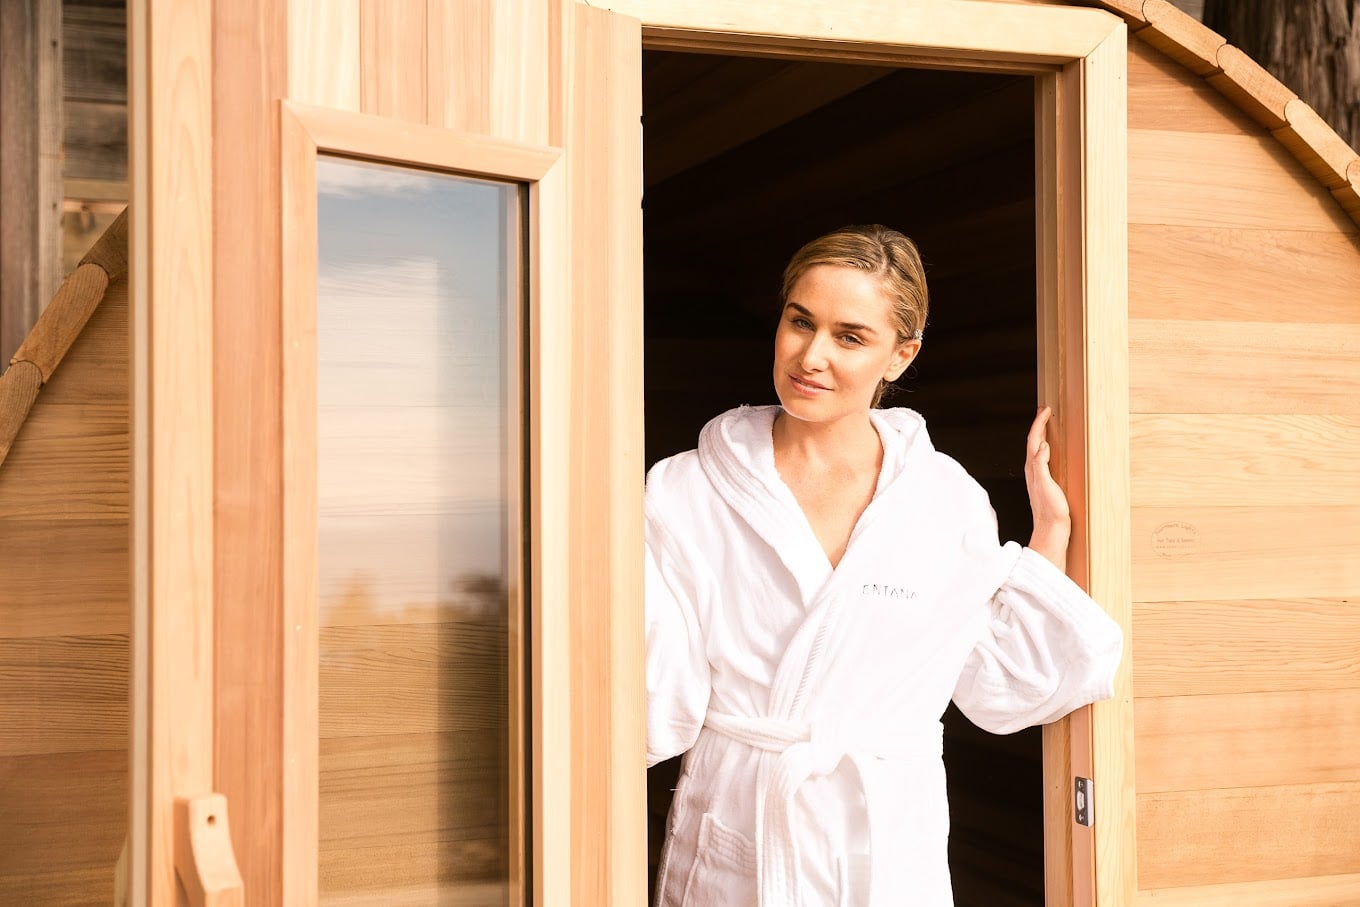
Looking for the perfect cedar sauna for your home? We’re here to help you find exactly what you need, from handcrafted cedar barrel saunas to outdoor saunas that promote relaxation and wellness. Whether you have questions about our products, installation, or need help with an order, our team is ready to assist.
Fill out the form, and we’ll get back to you as soon as possible to guide you toward a healthier lifestyle with the natural benefits of wood saunas.