Introduction:
In recent years, the popularity of infrared saunas has surged due to their numerous health benefits, including stress relief, improved circulation, and detoxification. While purchasing a pre-built infrared sauna is an option, building your own allows for customization and can be a rewarding DIY project. In this guide, we’ll walk you through the process of building an infrared sauna, drawing inspiration from the high-quality materials and expertise provided by Cedar Barrel Saunas (www.cedarbarrelsaunas.com).
Materials:
To get started, gather the necessary materials. Cedar Barrel Saunas is a reputable source for sauna kits, offering Western Red Cedar, renowned for its durability, resistance to decay, and aromatic properties. The kit should include pre-cut cedar panels, benches, a door, and all the hardware required for assembly.
Foundation:
Begin by choosing an appropriate location for your infrared sauna. A level surface with proper ventilation is essential. Prepare a solid foundation using concrete blocks or a poured concrete slab to ensure stability and heat retention.
Assembly:
Follow the comprehensive assembly instructions provided with your Cedar Barrel Saunas kit. Start by connecting the cedar panels to form the walls, ensuring a snug fit. The tongue-and-groove design of Cedar Barrel Saunas’ panels simplifies the assembly process, making it accessible even for those with minimal DIY experience.
Insulation:
Proper insulation is crucial for maintaining a consistent temperature and energy efficiency in your infrared sauna. Cedar Barrel Saunas’ kits usually include foil-faced bubble wrap insulation, which reflects heat back into the sauna space. Install the insulation between the sauna’s inner and outer panels, securing it with the provided staples.
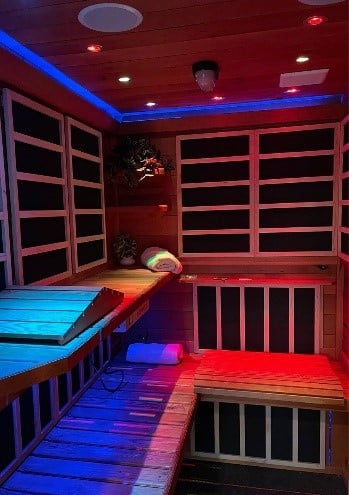
Infrared Heaters:
The heart of your infrared sauna lies in its heaters. Cedar Barrel Saunas recommends premium infrared sauna heaters that emit low EMF (electromagnetic fields) for a safer and more enjoyable sauna experience. Follow the manufacturer’s guidelines for installing the heaters, ensuring they are evenly distributed for uniform heat.
Ventilation:
Good ventilation is key to preventing moisture buildup and maintaining a comfortable sauna environment. Cedar Barrel Saunas typically include an adjustable vent for proper air circulation. Install the vent near the floor to allow fresh air to enter while releasing excess moisture.
Sealing and Finishing:
To enhance the sauna’s longevity and aesthetics, it’s crucial to seal the cedar wood. Cedar Barrel Saunas recommends using a sauna sealant or tung oil to protect the wood from moisture and UV damage. Apply the sealant according to the product instructions, allowing it to dry thoroughly before using the sauna.
Benches and Accessories:
Assemble the sauna benches according to the kit instructions, ensuring they are securely attached to the sauna walls. Cedar Barrel Saunas offers ergonomic bench designs for optimal comfort during your sauna sessions. Consider adding accessories such as towel racks, cup holders, and backrests for a personalized touch.
Conclusion:
Building your own infrared sauna is a gratifying project that allows you to enjoy the benefits of a sauna tailored to your preferences. With high-quality materials and expertise from Cedar Barrel Saunas, creating a customized infrared sauna has never been more accessible. Follow the steps outlined in this guide, and soon you’ll be unwinding in the warmth of your DIY oasis, reaping the rewards of improved well-being and relaxation.